


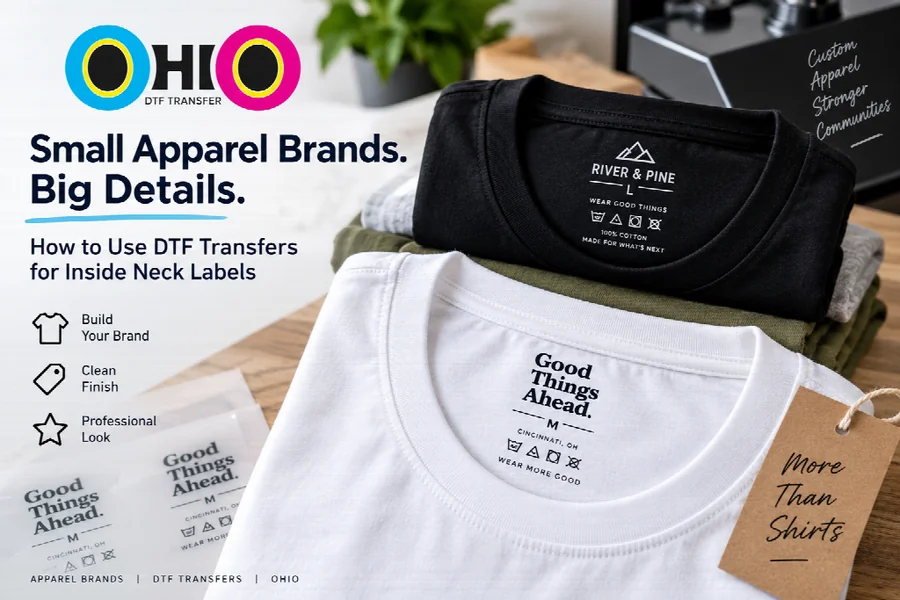
A small apparel brand can spend hours perfecting the graphic on the front of a shirt and still leave the garment feeling unfinished. One of the smallest details often makes a surprisingly large difference: the inside neck label.
Instead of treating the blank garment’s interior as an afterthought, brands can use a compact DTF transfer to add their own name, size information, or a simple branded mark near the collar. The goal is not to fill the inside of the shirt with information. It is to create a clean, repeatable finishing detail that belongs to the same brand as the artwork on the outside.
Start With a Label That Is Easy to Read
Inside neck artwork has much less space than a front or back shirt design, so simplicity matters. A logo that looks excellent at ten inches wide may become unreadable when reduced to label size.
Begin with the information that actually needs to be visible. For many branded apparel projects, that may be the brand name or logo plus the garment size. A short website address or small brand line can also work when the available space allows it.
Avoid turning the label into a miniature poster. Tiny social icons, long slogans, detailed illustrations, and several lines of fine text can compete with the information the wearer actually needs to recognize.
If your garment requires specific care, fiber, country-of-origin, or other labeling information, confirm the applicable requirements separately rather than assuming that a decorative DTF neck print replaces required garment labeling.
Create One System for Every Garment Size
The easiest neck-label workflow is based on one master design with controlled variations. Instead of creating unrelated artwork for Small, Medium, Large, and XL garments, keep the brand mark, typeface, proportions, and placement consistent. Change only the information that needs to change.
A simple file structure might look like:
- Brand-Neck-S
- Brand-Neck-M
- Brand-Neck-L
- Brand-Neck-XL
This becomes especially useful when an apparel line grows. Someone preparing a reorder can immediately identify which transfer belongs to which garment without opening several nearly identical files.
Measure the Actual Neck Area Before Ordering
Do not choose the label dimensions only by looking at the artwork on a computer screen. Use the actual blank garment.
Lay the shirt flat and inspect the area below the collar. Check the collar seam, any existing manufacturer label, stitching, and the amount of smooth fabric available for the transfer. The usable area can change between garment styles, even when the shirts have the same listed size.
Keep the transfer on a smooth section of fabric rather than crowding it against a raised seam. If your apparel line uses several blank styles, test the planned neck-label dimensions on each style before producing a large batch.
Separate Neck Labels From the Main Shirt Artwork
A branded shirt may have a front logo, a large back graphic, sleeve artwork, and an inside neck label. Treat the neck label as its own production component.
Keep a separate count for each size variation. If an order contains 20 Small shirts, 35 Medium shirts, and 25 Large shirts, the neck-label quantities should follow that garment breakdown rather than the total shirt quantity.
This simple separation reduces the chance of reaching the final stage of production with the correct number of shirts but the wrong mix of size labels.
Test One Finished Shirt Before Running the Batch
A digital mockup can show the general idea, but the finished garment is the better test. Apply one neck transfer to the actual blank you intend to use and inspect it before moving into the complete run.
Check whether the logo is readable, whether the label sits naturally below the collar, and whether the size information can be recognized quickly. Look at the shirt both flat and while it is being worn, because the collar area changes shape when the garment is on a body.
If the transfer feels too large, looks crowded, or sits too close to a seam, adjust the artwork or placement before repeating the same issue across dozens of garments.
Make Reorders Easier From the Beginning
Neck labels become more valuable when they are repeatable. Save the final artwork, dimensions, size variants, blank garment style, and placement notes together with the project.
When the same shirt returns for another production run, you should not need to rebuild the label from memory. The approved file and size system should already exist.
Brands that want a dedicated product route can review DTF transfers for neck labels when planning this part of the garment. If you are also comparing broader local transfer ordering options for other graphics in the same apparel workflow, the DTF transfers near me collection provides another starting point.
Small Detail, More Complete Brand Presentation
Inside neck labels do not need to be complicated to be useful. The strongest approach is usually a small, readable design supported by an organized size system and a tested placement.
For a growing apparel brand, that system also makes future production easier. A shirt can move from blank garment to branded product with the exterior artwork and interior identity planned as parts of the same job. When the label files, quantities, and placement notes are already organized, repeat runs become much easier to manage without reinventing the finishing details each time.
