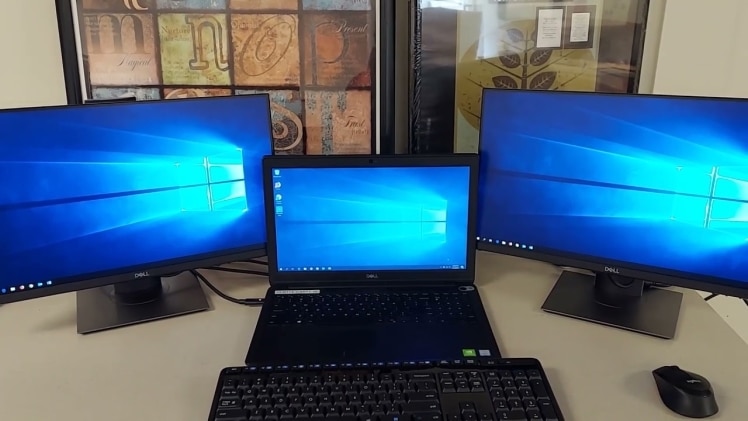
Why is having an efficient and organized workspace essential for productivity in the modern world of work? One of the most effective ways to boost your efficiency is by setting up a multi-monitor system. This setup allows you to extend your display across multiple screens, making multitasking easier and more seamless. Whether you’re a graphic designer, programmer, or someone who juggles multiple applications simultaneously, a multi-monitor system can significantly enhance your workflow.
Steps to Set Up a Multi-Monitor System
Docking stations play a crucial role in achieving this setup. They simplify the process by providing multiple ports and connections, enabling you to link several monitors to your laptop or desktop. For instance, the Anker docking station offers a robust and reliable solution for connecting multiple devices, including monitors, to create a streamlined and efficient workspace. In this guide, we’ll walk you through the steps to set up a multi-monitor system using your docking station.
-
Choose the Right Docking Station
Selecting the appropriate docking station is the first step. Ensure that the docking station you choose has enough ports to support multiple monitors. Check for compatibility with your laptop or desktop. The Anker Docking Station is a versatile choice that supports multiple connections, including HDMI and DisplayPort, making it ideal for setting up a multi-monitor system. When choosing a docking station, also consider the power delivery and data transfer capabilities to ensure it meets your needs.
-
Connect Your Docking Station to Your Laptop
Start by connecting your docking station to your laptop or desktop using the appropriate cable, typically USB-C or Thunderbolt. Make sure the connection is secure. This step is crucial as it forms the backbone of your multi-monitor setup, enabling communication between your computer and the docking station. Ensure that your laptop is powered on and that any necessary drivers for the docking station are installed to facilitate smooth connectivity.
-
Connect Your Monitors to the Docking Station
Next, connect your monitors to the docking station using HDMI, DisplayPort, or other compatible cables. Ensure that each monitor is properly connected and powered on. If you’re using a docking station like the Anker Docking Station, you can easily connect up to three monitors, depending on the available ports and your laptop’s capabilities. Arrange your monitors on your desk in a configuration that suits your workflow, whether it’s side-by-side, stacked, or in another arrangement.
-
Configure Display Settings on Your Computer
Once your monitors are connected, go to your computer’s display settings to configure them. On Windows, right-click on the desktop and select “Display settings.” On a Mac, go to “System Preferences” and then “Displays.” Arrange the monitors according to your physical setup and choose whether you want to extend or duplicate your display. This step allows you to customize your workspace and optimize the placement of your applications. Make sure to identify each monitor correctly and assign the primary display for optimal navigation.
-
Adjust Monitor Settings for Optimal Performance
Finally, adjust the settings on each monitor for optimal performance. This includes setting the resolution, orientation, and scaling options. Ensure that the settings match across all monitors for a cohesive display experience. High-quality docking stations, such as those from Anker, support high-resolution outputs, ensuring that your displays are clear and sharp. Additionally, calibrate the color settings and refresh rates to ensure consistency and reduce eye strain during prolonged use.
Conclusion
Setting up a multi-monitor system with your docking station can revolutionize your productivity by providing more screen real estate and making multitasking a breeze. With the right equipment, such as an Anker Docking Station, the process is straightforward and efficient. By following these steps, you’ll be able to create a powerful and organized workspace that caters to your professional needs.


